
Carving wood inside a small apartment often feels like an impossible project before you even make your first cut. Most people associate woodworking with loud machines, heavy workbenches, and clouds of yellow dust that coat every shelf, cup, and windowsill. When you share walls with neighbors and live in four hundred square feet, the idea of turning your living room into a sawdust factory is out of the question. You cannot hammer on chisels at eight in the evening, and you cannot run an industrial shop vacuum without drawing complaints.
The good news is that traditional green woodworking, whittling, and small relief carving do not require a garage or a basement. By choosing hand tools that shear wood fibers instead of power tools that grind them into powder, you can carve at a kitchen table or a small desk without bothering anyone. You only need a workspace that protects your furniture, catches your wood curls, and keeps your sharp steel out of reach when the day is done.
Carving indoors without workshop dust
Why do woodshops generate so much choking dust while traditional whittlers leave behind clean piles of shavings? The answer comes down to how the tool separates the wood. Saws, power sanders, and rotary carvers crush and abrade the wood cells, tearing them into tiny particles that float in the air like flour. Hand gouges and carving knives, by contrast, act like miniature kitchen peelers. When a razor-sharp edge slides through wood grain, it severs the fibers in a single line, producing distinct ribbons or chips that fall straight to the ground under their own weight.
Because hand-cut chips are heavy, they do not hang in the air or settle in your lungs. This means you do not need an active dust-collection fan or a respirator to carve a spoon, a small animal, or an ornamental relief panel. You can carve three feet away from your sofa without coating the fabric in grit, provided you keep abrasive sandpaper out of your routine until you are ready to finish the piece outdoors or over a damp cloth.
To keep airborne particles near zero, follow a few basic environmental rules in your room:
- Use green or naturally soft woods: Basswood, butternut, alder, and freshly cut birch give off clean curls that drop immediately to your work surface. Dry, brittle hardwoods like oak can shatter into tiny splintering fragments if forced.
- Skip the rotary tools: Electric power carvers spin at twenty thousand revolutions per minute and sling micro-debris across an entire room within seconds.
- Finish with a knife cut: Learn to produce a clean faceted finish directly off your gouge or knife. A polished cut surface resists dirt better than a sanded surface and creates no dust at all.
Building or buying a simple bench hook
What keeps your wood from sliding away while you push a sharp blade into it? In a commercial shop, heavy cast-iron vises clamp the timber tight. In a rented apartment, you cannot bolt a sixty-pound vise to your dining table. This is where a bench hook solves the problem. A bench hook is a simple, flat board with two wooden stops, one glued to the top edge and one glued underneath the opposite edge.
The lower stop catches against the front edge of your table, while the upper stop holds your workpiece securely against the push of your knife or gouge. When you push forward with your tool, your body pressure locks the entire jig against the table frame. Because the forces press horizontally into the tabletop, the bench hook will not slide forward, and it requires zero screws or clamps to stay in place.
You can make your own bench hook in twenty minutes using basic materials from any home supply center:
- Cut the base board: Cut a piece of three-quarter-inch plywood or hardwood board to roughly nine inches wide by twelve inches long.
- Prepare the stops: Cut two pieces of one-inch by one-inch hardwood batten to nine inches long, matching the width of your base.
- Attach the bottom stop: Glue and screw one batten along the bottom front edge of your base. This ledge hangs down and hooks over the table rim.
- Attach the top stop: Glue and screw the second batten across the top back edge of your base. This provides the fence that stops your carving blank.
- Add leather or cork: Glue a sheet of vegetable-tanned scrap leather or shelf-liner cork to the flat working face between the battens to prevent your carving wood from sliding sideways.
If you prefer to buy one, look for student-grade joinery bench hooks sold by woodworking supply stores. Make sure the hook has at least three-quarters of an inch of stop height so your stock cannot flip over the top edge when you apply forward hand pressure.
Chip management using a canvas floor cloth
Even though hand-carved chips fall straight down, they have an annoying habit of bouncing off your knees and migrating into carpet fibers. How do you keep these shavings from getting tracked into your bedroom or caught in pet fur? The most reliable solution is an old painters trick: a heavy canvas drop cloth spread beneath your chair and table.
Synthetic plastic tarps are cheap, but they are loud to walk on, slide across hard floors, and generate static electricity that causes thin wood chips to stick to the plastic like magnets. An eight-ounce or ten-ounce untreated cotton canvas duck cloth lies flat, deadens the sound of falling wood, and absorbs any incidental drops of sharpening oil or water. A size of four feet by six feet is large enough to cover the fall zone of your lap, your hands, and the front of your work surface.
Managing the mess takes less than two minutes if you build the habit into the end of every carving session:
- Clear your lap first: Stand up slowly while brushing your apron or trousers directly downward so all loose shavings land on the canvas cloth beneath your stool.
- Sweep the bench hook: Use a horsehair bench brush, which generates far less static than plastic bristles, to sweep the tabletop shavings down onto the center of the canvas.
- Taco fold the cloth: Gather the four corners of the canvas cloth together toward the center, lifting the bundle into a U-shape. This channels all the loose chips into the center crease.
- Tip into the bin: Carry the folded cloth directly to your compost bin or trash can and tip the shavings inside. A quick shake outside a window or over a balcony once a week clears any microscopic fiber buildup.
Selecting quiet non-mallet carving tools
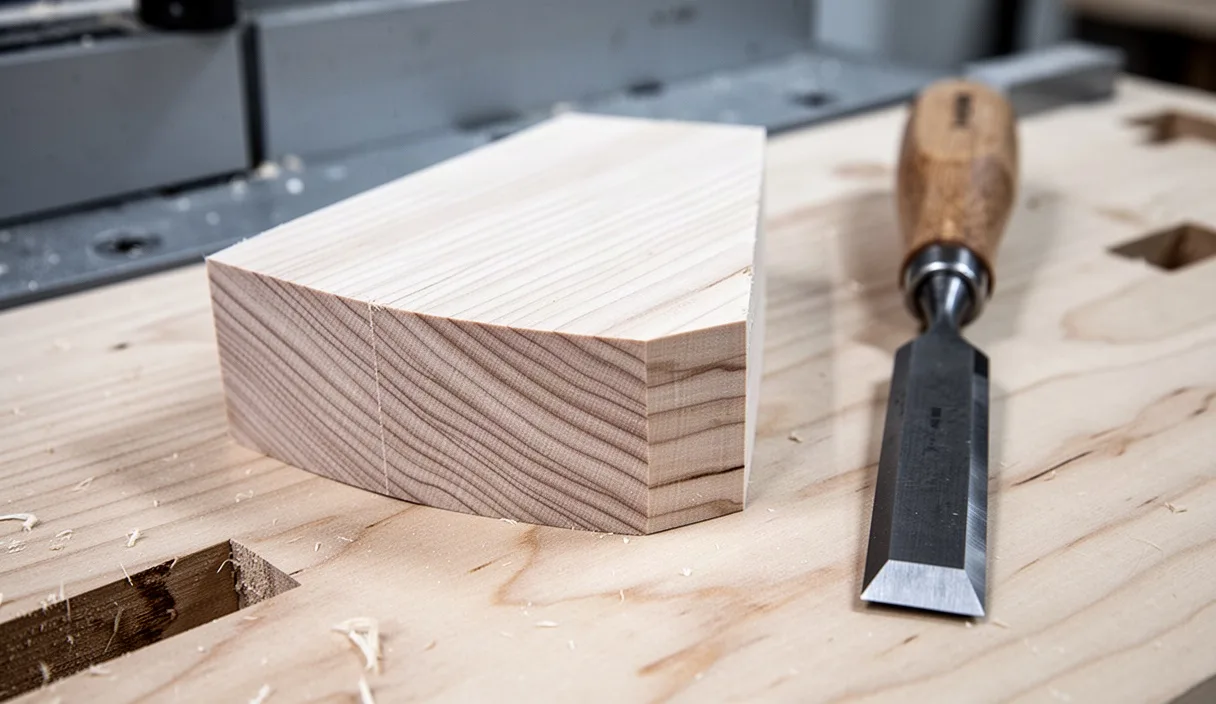
A mallet hitting a chisel handle makes a sharp, percussive crack that easily travels through apartment floorboards and drywall. To maintain total peace with your neighbors, your indoor kit should consist entirely of push-driven hand tools. When a blade is sharpened to a fine twenty-degree bevel, the strength of your hands and forearms is more than enough to cut basswood, cherry, and walnut without ever striking a blow.
For quiet carving in tight quarters, you only need four primary tools to start, rather than a twenty-piece boxed set filled with shapes you will never touch:
| Tool Type | Common Size or Sweep | Primary Purpose | Noise Level |
|---|---|---|---|
| Sloyd or Detail Knife | 45 mm to 60 mm straight blade | Whittling outside curves, stop cuts, shaping blanks | Silent |
| Palm Gouge | Number 7 sweep, 6 mm to 8 mm | Hollowing bowls, carving leaves, scooping hollows | Silent |
| V-Tool (Parting Tool) | 60 degree, 3 mm to 4 mm | Outlining designs, cutting fine hair, texturing | Silent |
| Push Chisel (Skew) | 10 mm to 12 mm angled edge | Cleaning flat backgrounds, shaving corners flush | Silent |
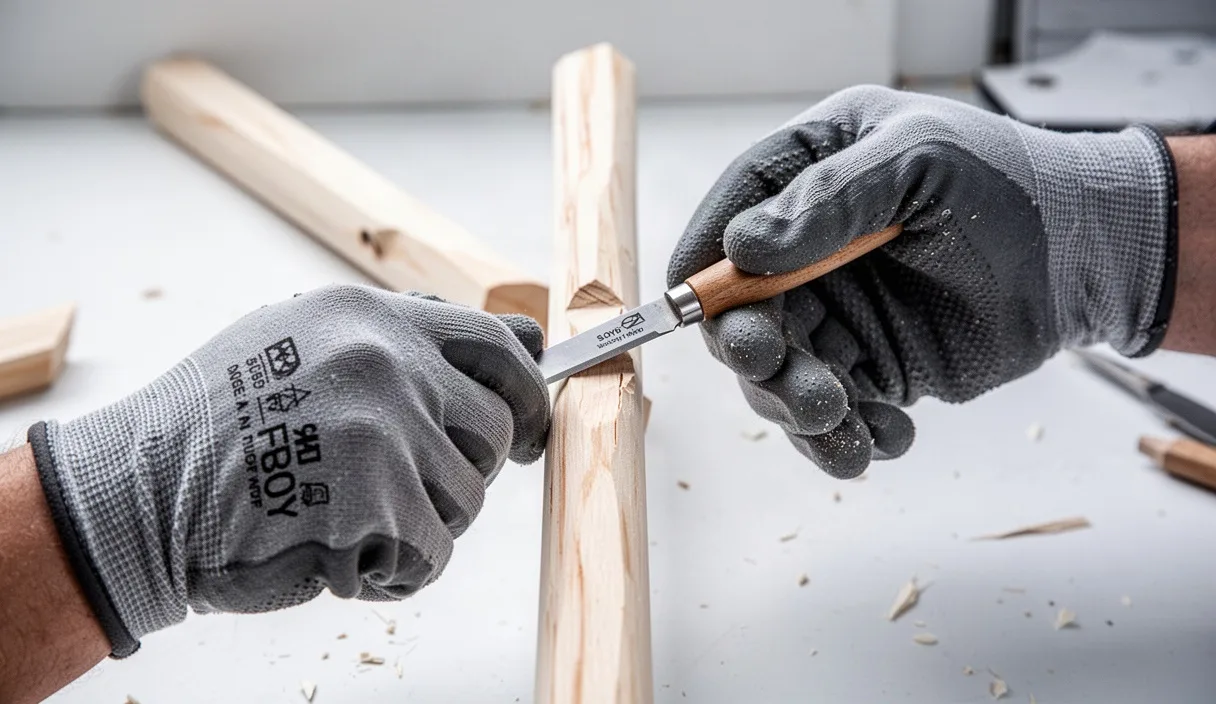
Palm tools differ from traditional bench chisels because they have short, bulb-shaped wooden handles that nestle comfortably into the center of your palm. Instead of gripping a long handle with both hands and hitting it, you guide the tool with your dominant hand while resting the thumb of your opposite hand against the back of the blade. This push-and-guide method gives you microscopic control over how deep the edge cuts. It also prevents the blade from skidding forward if it suddenly breaks through a soft patch of wood grain.
Safe and tidy storage for sharp knives
A dull tool is dangerous, but an exposed sharp tool in an apartment drawer is a disaster waiting to happen. If a steel edge bangs against another metal tool, the microscopic edge rolls over, ruining your sharpening work. Worse, reaching blindly into a cluttered drawer can lead to severe hand cuts. In a home where space is shared with family members, visitors, or pets, every tool must have dedicated edge protection.
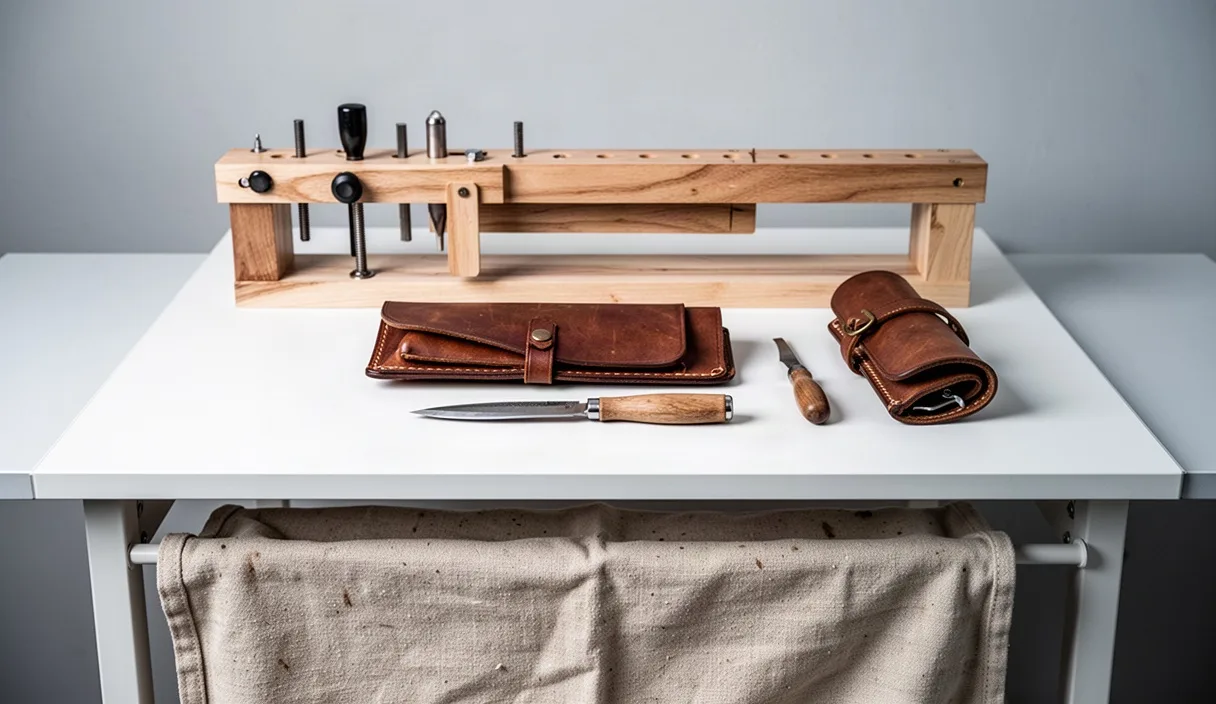
Heavy fabric tool rolls made from waxed canvas or thick split leather are the best storage method for small spaces. Each tool slides into its own pocket, and the cloth flap folds over the tips before you roll the entire bundle into a cylinder the size of a water bottle. You can tie it with a leather thong and tuck it away in a desk drawer or on a high bookshelf where children cannot reach it.
If you prefer to keep your tools visible on the wall, avoid open magnetic kitchen strips unless they are covered in wood veneer. Bare steel magnets can scratch tool bevels and magnetize your knives, causing fine steel sharpening particles to stick to the blade during honing. Wooden magnetic racks, or a simple hanging leather tool sheath board, keep edges separated and pointed away from passing hands.
For tools you travel with, make simple blade guards from scraps of cardboard and tape, or fold small pieces of dense cereal-box cardboard over the tip and secure them with a sturdy rubber band. A drop of camellia oil or mineral oil wiped along the blade before storing prevents atmospheric moisture from rusting the polished steel between carving sessions.
Common mistakes
Beginning apartment carvers often run into friction not because of a lack of talent, but because their workstation setup fights them. Being aware of these frequent missteps will keep your practice enjoyable and safe:
- Carving over high-pile rugs: If a chip drops into a thick carpet, vacuuming it out pulls up wood splinters that get caught in bare feet later. Work over bare flooring or place your canvas cloth directly over flat, low-pile floor coverings.
- Working with factory-ground edges: Brand-new carving tools rarely arrive truly sharp. Trying to carve with a blunt blade forces you to push too hard, which risks slips, gouges your table, and makes squeaking cuts instead of smooth shavings. Strop your blade on leather charged with polishing compound before every session.
- Relying on dim overhead lighting: Carving requires you to see the direction of the wood grain and the tiny facets left by your knife. A standard room ceiling light casts your hands in shadow. Use an adjustable desk lamp fitted with an LED bulb placed close to your cut to cast low shadows that highlight tool marks.
- Cutting toward unprotected fingers: In a small space, it is tempting to lean back on a chair and cut toward your chest. Without formal training and a heavy leather carving apron, always cut away from yourself or brace your thumbs against each other to mechanically limit the blade travel. If you slip and cut yourself deeply, seek medical care immediately rather than relying on home remedies.
Practical next steps
You do not need to buy an entire catalog of tools to discover if apartment carving suits your life. Start by gathering a few ordinary items you likely already own: an adjustable desk lamp, a sturdy flat table, and an old canvas drop cloth or cotton bedsheet to catch your mess.
Next, purchase a single fixed-blade carving knife with a two-inch blade from an established maker, along with a block of kiln-dried basswood roughly two inches square by six inches long. Set up your bench hook or brace your wood securely, sit down with the light falling across your work, and take your first controlled cuts. Once you see the shavings drop quietly onto your canvas sheet without a speck of dust in the air, you will realize that you have all the room you need.