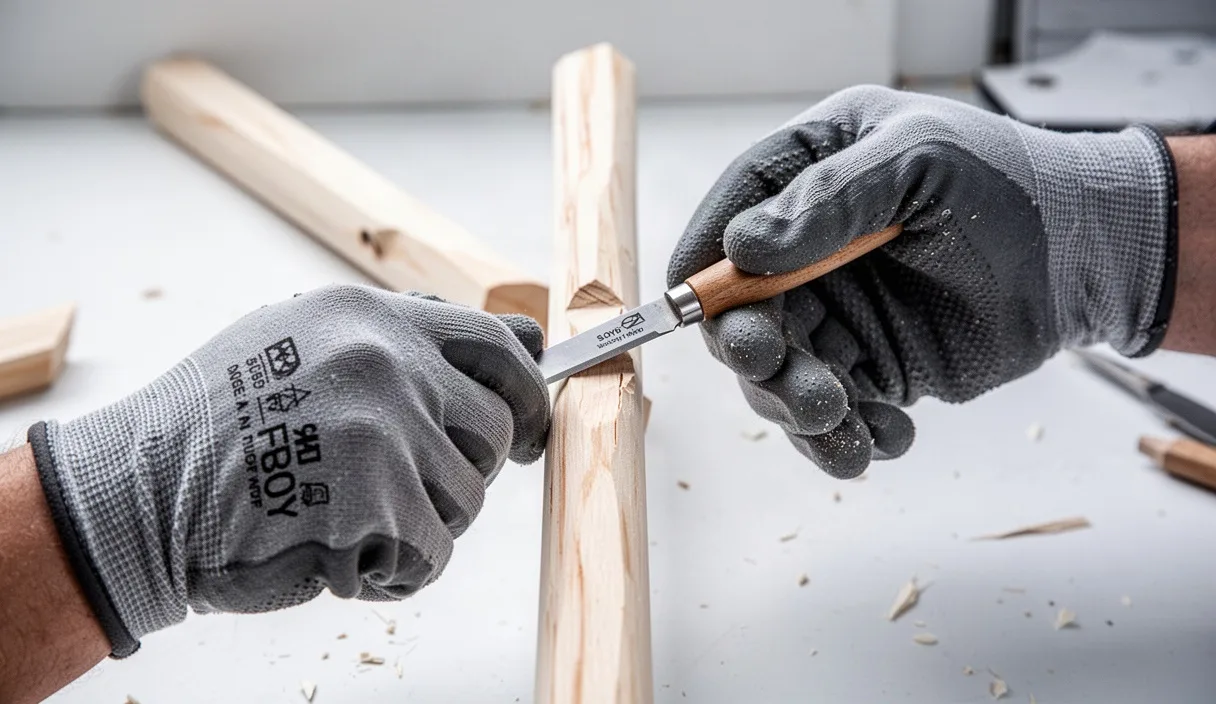

When you slide a sharp gouge into a fresh block of wood, the tool will either glide smoothly, leaving a polished ribbon of shavings, or it will dive violently into the core, tearing out jagged chunks. Why does the exact same steel blade behave in two opposite ways on the exact same piece of timber? The answer lies entirely in grain direction. Wood is not a uniform, synthetic material like plastic or wax. It is an organic bundle of microscopic tubes that grew over decades, reaching upward toward the sunlight and expanding outward with every passing season.
Learning how to work alongside these natural tubes rather than against them is the central skill of traditional woodcarving. Once you understand how tree fibers are layered, you can predict how the wood will split before your cutting edge even touches the surface. Instead of fighting the wood and dulling your gouges through brute force, you learn to let the wood tell you which way to cut. A few adjustments in hand position and cut direction will transform rough, tear-out-prone carving into clean, crisp work.
What is wood grain and why does it matter
To understand wood grain, picture a tightly packed bundle of ordinary drinking straws held together with glue. In a living tree, these "straws" are tracheids and vessel elements, specialized cells that transport water and dissolved minerals from the roots up to the canopy. The natural glue holding them together is called lignin, an organic polymer that gives wood its stiffness. When we talk about the grain of the wood, we are referring to the general longitudinal orientation of these cellular fibers.
Why does this structure matter to a hand carver? Because cutting across the ends of these straws requires shearing every single cell wall, which demands significant force. Cutting parallel to the straws requires splitting the lignin bond between the tubes, which takes far less effort. Most carving cuts happen neither perfectly across nor perfectly along the fibers, but at a shallow angle to them. If you peel a bundle of straws in one direction, they split off neatly. If you wedge a blade in the opposite direction, the tool catches an open edge and drives deeper and deeper into the bundle, snapping the fibers apart below the planned cut line.
This splitting action is called tear-out. When tear-out happens, the wood does not slice cleanly. Instead, it fractures ahead of the tool edge, leaving a ragged, cratered surface that is difficult to smooth without losing your carve lines. Carving "with the grain" means cutting in the direction where the fibers are supported from beneath by the rest of the wood block. Carving "against the grain" means wedging the blade into unsupported fibers, prying them upward until they snap off beneath the surface.
| Carving Direction | Fiber Behavior Under Blade | Resulting Surface | Tool Resistance |
|---|---|---|---|
| Downhill (with the grain) | Blade presses fibers down against adjacent wood mass | Glassy, smooth, requires little cleanup | Low, predictable, easy to steer |
| Uphill (against the grain) | Blade scoops beneath fibers, lifting and snapping them | Rough, fuzzy, deep jagged tears | High, blade tends to dive and stick |
| Across the grain (90 degrees) | Blade shears across hollow cell walls directly | Clean if tool is razor-sharp, chalky if dull | Moderate to high, requires slicing motion |
How to read the slope of surface fibers
Before you make a cut, you need to read the direction of the wood fibers on your blank. How do you find which way the fibers run if the wood is surfaced smooth? Think of stroking a cat or a dog. When you stroke from head to tail, the fur lays flat and glossy. When you stroke from tail to head, the fur stands up on end, resisting your hand. Wood fibers behave the exact same way. Your task is to identify which end represents the head and which represents the tail.
Look at the face of your board for the growth ring patterns, also known as Cathedral grain. These look like nested arches or parabolic curves running down the length of the board. The general rule for reading these arches is straightforward: carve in the direction that the arches point, or from the tip of the arch outward toward its legs, depending on how the log was milled. A more reliable method is to examine the edge of the board directly adjacent to the face you want to carve. Look at the ray lines and the growth rings on the side. The angle at which the fibers run toward the surface is called the slope of grain.
If the fiber lines rise from left to right, emerging on the top surface like shingles on a roof, you must cut from right to left. Cutting from right to left presses each shingle down against the one beneath it. If you cut from left to right, your blade acts like a strong wind blowing under the shingles, lifting them up and ripping them off the roof. Always carve "down the slope" of the fibers, never "up the slope."
- Check the ray flecks: In hardwoods like white oak or beech, medullary rays run perpendicular to the growth rings. When rays look like long ribbons, you are looking at true straight grain. When they look like short dashes, the grain is running at an angle out of the board face.
- Inspect the pore lines: On open-pored woods like ash or walnut, look closely at the tiny vessel grooves. If the pores appear as short, broken dashes, the grain is diving. If they run long and continuous, the grain runs parallel to your surface.
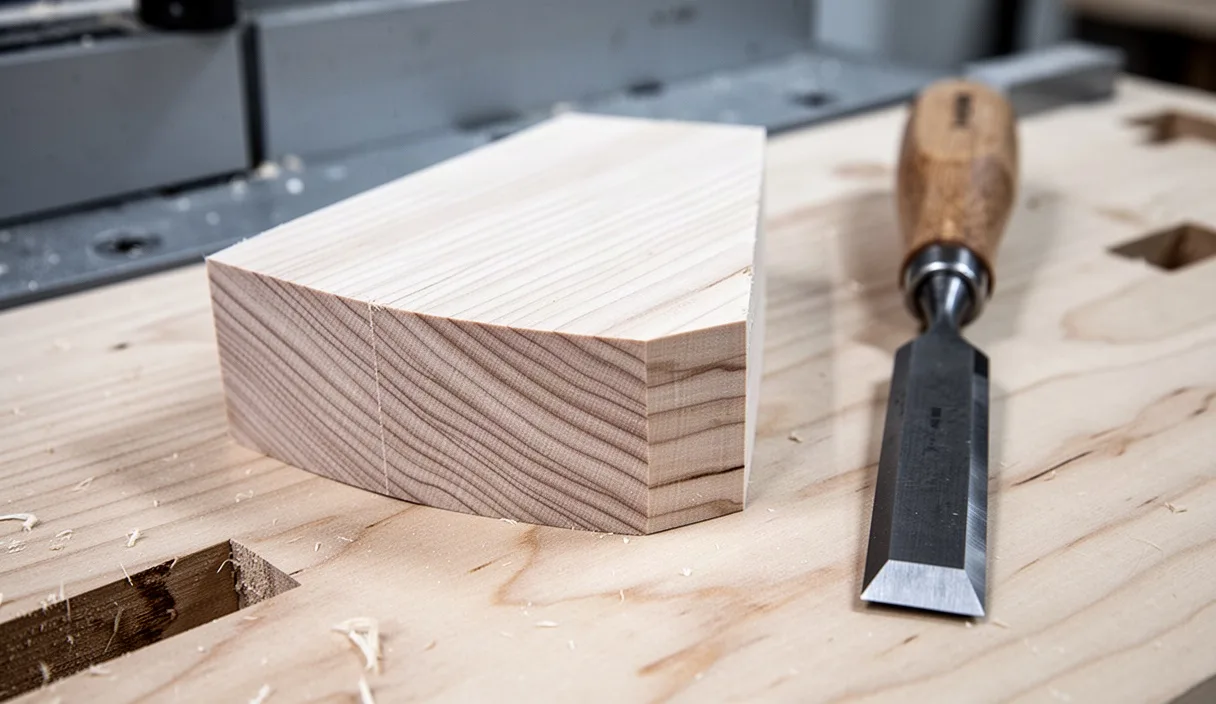
- Look at the end grain: The end of your carving block reveals the curve of the original tree rings. Fibers will almost always run downhill toward the bark side or downhill toward the heartwood side, dictating the safe cutting direction on the adjoining faces.
The push cut versus the stop cut
Even when you understand grain direction, certain shapes require cutting into areas where the grain reverses itself. This happens whenever you carve a hollow, a bowl, or a valley between two high points. As you carve down into the depression, you are cutting downhill with the grain. But as your blade crosses the lowest point of the hollow and begins to climb up the other side, you suddenly find yourself cutting uphill, directly against the grain. How do you handle this shift without tearing out the wood?
This is where choosing between a push cut and a stop cut becomes critical. A push cut uses steady forward pressure, ideally combined with a slight lateral slicing motion, to separate wood along an open path. It works best when you have an uninterrupted path downhill with the grain. However, if you push that same blade up the opposite slope of a hollow, the blade will dive and tear out the slope. To prevent this, experienced carvers either flip the workpiece around to carve the other side downhill, or they use a stop cut.
A stop cut is a vertical or steep incision made across the fibers before any wood is removed. It cuts through the cellular straws ahead of time, breaking their mechanical continuity. When you subsequently make a push cut toward that incision, the severed shavings pop out cleanly the moment the blade hits the relief line. The blade cannot pry up wood fibers past the stop cut because the physical connection to the rest of the board has already been severed.
- Score the boundary: Take a straight carving knife or a bench chisel. Press the cutting edge straight down into your design line, establishing a vertical barrier between 2 and 4 millimeters deep. Cut slightly across the grain rather than exactly parallel whenever possible.
- Angle the incoming cut: Position your gouge or knife roughly 15 to 25 millimeters away from the stop cut line, tilted at an angle of roughly 15 degrees to the wood surface.
- Push toward the relief point: Guide the blade toward the vertical wall of the stop cut. Let the blade slice through the fibers until it meets the initial incision.
- Release the chip: As the incoming cut reaches the depth of your vertical incision, the waste piece will drop free without any tearing, because the fibers have nowhere to split downward.
Managing tricky grain near knots
Knots are the places where living branches met the trunk of the tree. Because the branch needed to support its own weight and transport sap independently, its wood fibers grew at a sharp angle to the main trunk, surrounded by dense, compressed wood. Carving through or around a knot presents two distinct problems: the wood inside the knot is much harder than the surrounding timber, and the grain pattern around the knot swirls in complete circles, like water flowing around a boulder in a fast river.
What should you do when your gouge encounters this swirling wood? You cannot make a single, continuous pass across the area. If you cut in a straight line past a knot, you will be carving with the grain on one side of the knot, across the grain at the center, and aggressively against the grain on the exit side. This is why carvers often find huge, scooped out tears right next to knot locations.
The solution is to work in short, directional quadrants. Divide the knot area in your mind into four separate zones, like the faces of a compass. Determine which way the fibers swirl in each quadrant. On the top-left section, you might cut downward toward the knot. On the bottom-left section, you must cut upward away from the knot. Treat every three square centimeters around a knot as an independent carving field with its own grain slope.
Tool selection matters immensely here. A flat chisel with a standard 30 degree bevel will often chatter or wedge tightly in the dense grain of a knot. Switch instead to a tool with a thinner profile or a higher cutting angle, such as a sweep number 3 gouge sharpened with an extra micro-bevel. Take cuts that remove no more than half a millimeter of material per pass. Skew the tool at a 45 degree angle to your line of push, which creates a shearing action that slices stubborn fibers instead of crushing them.
Quick testing cut to confirm grain flow
Visual inspection is valuable, but wood often conceals internal twists from wind stress or irregular growth cycles. Even on prime basswood or butternut, grain can reverse direction unexpectedly halfway down a blank. What is the most reliable way to confirm the grain without ruining your project? You should always perform a quick testing cut along a waste edge or hidden corner of the workpiece.
To perform a testing cut, choose a very sharp knife or a small number 5 gouge. Find a patch of wood that will eventually be carved away as scrap, or test the very top corner of the blank where waste wood sits. Place the blade on the surface at a very shallow angle, around 10 to 12 degrees. Do not drive the tool deeply. Instead, take a paper-thin shaving roughly 10 millimeters long, moving slowly.
Pay close attention to two separate signals during this cut: sound and tactile feedback. If the grain is running with your cut, the tool will produce a soft, crisp whisper, like paper being sliced with scissors. The wood shaving will curl upward effortlessly, and the surface left behind will feel slick and look reflective, as if it had been burnished. If you are carving against the grain, the tool will make a duller crunching sound, you will feel resistance dragging on the blade, and the wood beneath the cut will appear cloudy, rough, or covered in microscopic stair-steps.
If you encounter that dull resistance, stop the stroke immediately. Do not push through hoping it will smooth out, because the blade will dive deeper with every millimeter of travel. Back the tool out, turn your body or rotate the carving block 180 degrees, and make the exact same test cut in the opposite direction. You will immediately notice the difference in resistance and surface finish.
Common mistakes
Carvers of all experience levels run into grain problems, but beginners tend to make a few specific errors that make the problem much worse:
- Trying to power through resistance: When a tool stops gliding, the natural instinct is to push harder with the arms or shoulders. This almost always results in a broken tool tip, a ruined workpiece, or a blade slipping into your holding hand. High resistance is wood telling you that you are carving against the grain or that your edge is dull.
- Carving directly down the middle of a valley: Driving a deep V-tool straight down an inner groove forces the left wing of the tool to cut one slope while the right wing cuts the other. Unless the grain is perfectly straight, one wing of the tool is guaranteed to tear out wood fibers. Relieve one side at a time instead.
- Ignoring changing grain in wild species: Woods like figured maple, olive, or sweet birch have interlocked grain, where the fiber slope reverses every few growth seasons. Carving these woods in long, sweeping passes is impossible. They require short, slicing cuts and frequent changes of approach angle.
- Using a dull cutting edge: A truly sharp edge can slice across semi-opposing fibers without lifting them, because it cuts the cell walls before the lignin bond snaps. A dull edge acts like a wedge, multiplying the upward pry force and causing tear-out on even slightly uphill cuts.
Practical next steps for your bench
Understanding grain theory on the screen is helpful, but muscle memory develops only through direct contact with timber. To turn this knowledge into an intuitive habit, begin by preparing a practice block. Secure an untreated offcut of domestic softwood, such as eastern white pine, measuring roughly 5 centimeters thick and 30 centimeters long. Pine is an excellent teacher because the density difference between soft earlywood and hard latewood will punish bad cutting angles instantly while rewarding correct ones.
Take a pencil and draw arrows along all four sides of the block, marking your best estimate of the grain direction based on the visual slope. Next, take a sharp palm gouge or carving knife and make three shallow passes in the direction of your arrows, then three shallow passes in the opposite direction. Run your bare fingertip over both areas. Notice how the downhill cut feels cool, dense, and polished, while the uphill cut feels rough, dry, and splintery.
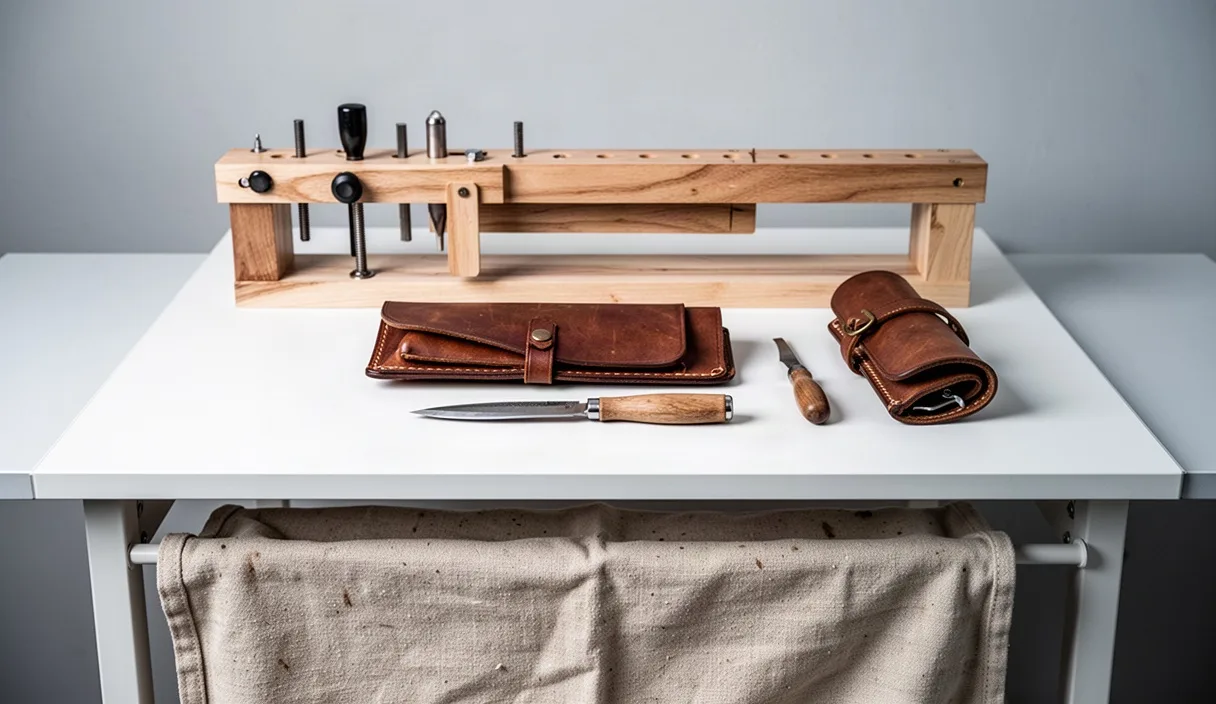
Whenever you begin a real carving project, build the habit of spending the first two minutes analyzing fiber slope before making your first roughing cut. Mark your downhill paths with light pencil lines directly on the wood. As your design progresses and forms three-dimensional curves, re-evaluate those paths continually. The direction of safe carving changes with every surface contour you create. Keep your chisels honed on a leather strop every 20 minutes of carving time, respect the direction of the wood fibers, and the timber will yield cleanly under your tools.