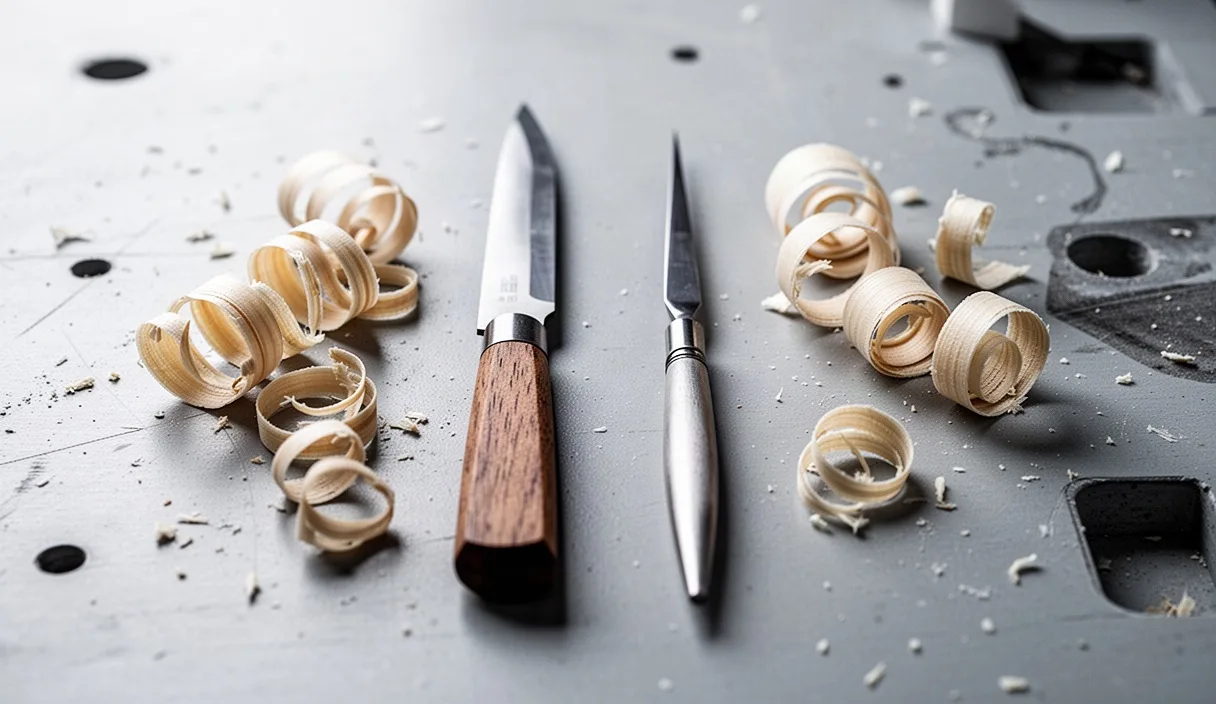

A sharp carving knife behaves differently from almost any other cutting tool in the workshop. When you push a blade through dried basswood, cherry, or white pine, the wood fibers push back against the microscopic edge of the steel. Even if you sharpen your blade on fine waterstones, those wood fibers bend the apex of the edge out of alignment after a short period of cutting. This tiny misalignment makes the knife drag, tear the wood surface, and require heavier hand pressure to make a clean slice.
Stropping is the practice of drawing this blade across a piece of leather charged with an abrasive paste to realign and polish that microscopic edge. It is not a replacement for full sharpening on stones, but rather a preservation method that keeps your knife cutting cleanly for hours, weeks, or even months without returning to a coarse abrasive. Understanding how leather and paste interact with hardened steel removes the guesswork from maintenance and protects your hands by keeping the knife slicing with minimal force.
What stropping actually does to blade steel
To understand what stropping does, imagine the edge of your knife under a microscope. Even after working through a 4000-grit or 8000-grit waterstone, the edge is not a solid, smooth wedge. Instead, it looks like a microscopic saw with tiny teeth, called serrations, running along the apex. Additionally, stones leave behind a fragile strip of bent steel clinging to the cutting line, known as a burr or wire edge. If you carve with that wire edge attached, it folds over sideways during your first three or four cuts, leaving you with a dull blade that crushes wood cells rather than slicing them.
Why does stropping fix this problem? Leather provides a semi-flexible backing that supports the blade while allowing the abrasive compound to cup around the micro-bevel. When you draw the steel backward across the strop, the compound works like liquid sandpaper with microscopic grits. It wears away the thin, weak burr and polishes the scratches left by sharpening stones into a uniform, mirror-bright surface. This process is called burnishing and micro-honing.
At the same time, the firmness of the leather prevents the abrasive from rounding the blade apex, provided you use correct technique and light pressure. Think of it like combing tangled wool: stropping straightens out the microscopic teeth along the edge and sweeps away loose metal flakes. A cleanly polished apex experiences far less friction when entering wood grain, which means the edge stays intact much longer than a rough edge would.
Choosing between smooth leather and rough suede
Leather has two sides: the grain side, which is the smooth, hard surface that was once the outside of the animal hide, and the flesh side, which is the soft, napped suede found on the inside. Woodcarvers often debate which side provides the cleanest finish on high-carbon tool steels. Both sides have distinct properties, and many two-sided stropping paddles include one of each.
The smooth grain side yields a very firm, flat surface. Because it does not compress easily, it minimizes the risk of rounding your knife edge over during a stroke. However, because it is smooth, it holds waxy buffing compounds with slightly less grip, requiring you to apply compound lightly or warm the leather slightly beforehand. The smooth side is ideal for the final finishing strokes and for knives with very low primary bevel angles, such as detail knives and chip carving knives.
The rough flesh side acts like a deep carpet. Its fibers hold a thick layer of compound easily, making it fast and forgiving for regular maintenance between heavy carving cuts. The trade-off is softness: because the suede gives way under the weight of the knife, excessive pressure can push the cutting edge down into the nap. When the nap billows up around the edge, it rounds off the sharp apex, making the blade duller rather than sharper.
| Leather Surface | Primary Benefit | Compound Retention | Best Application |
|---|---|---|---|
| Smooth (Grain Side) | Resists rounding the apex | Moderate (needs thin application) | Final polishing and delicate detail knives |
| Rough (Flesh Side) | Absorbs compound deeply | High (holds paste without flaking) | Routine touch-ups during rough-out carving |
For most carvers, vegetable-tanned cowhide or horsehide provides the best density. Chrome-tanned leather, common in jackets and upholstery, contains residual salts and chemicals that can discolor carbon steel and lacks the firm, consistent base required for precision edge work.
Applying compound to the leather paddle
How do you load the leather with abrasive? Beginners often treat stropping compound like wall paint, applying thick, heavy layers until the leather is hidden completely. This is counterproductive. Too much paste creates a gummy, uneven bed that cushions the knife edge, which rounds the steel and reduces your carving control.
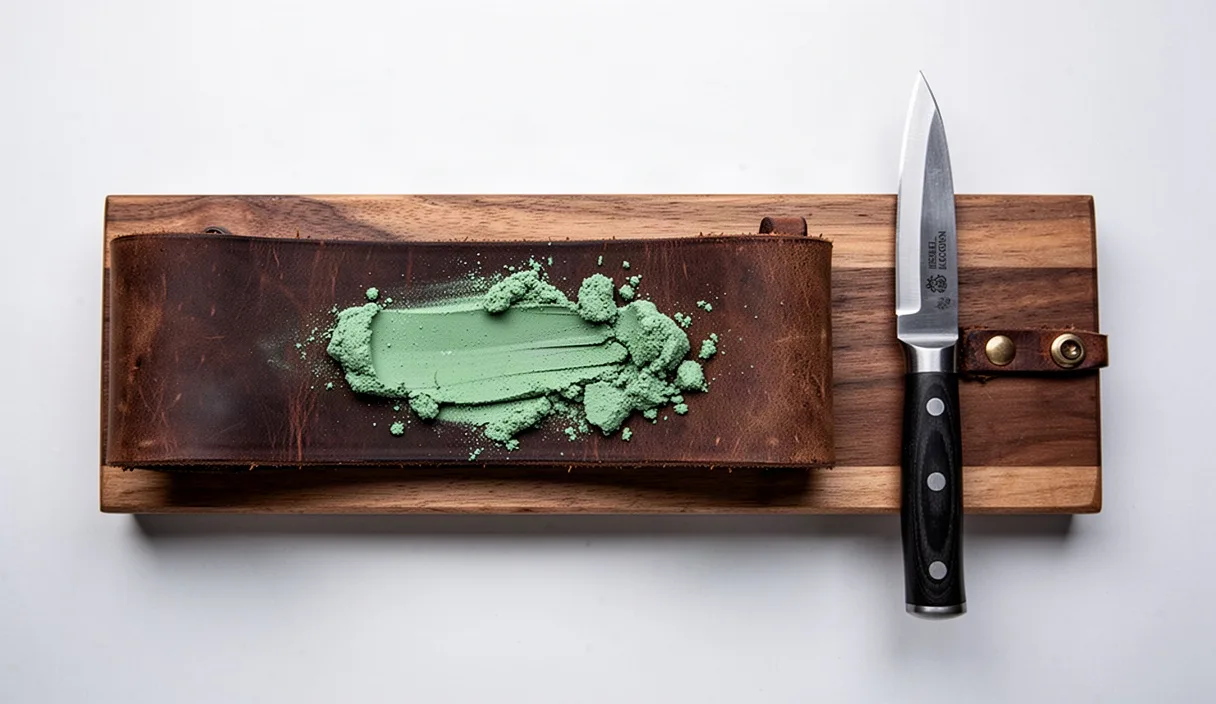
Stropping paste usually comes in two forms: solid wax bars or liquid suspensions in tubes or dropper bottles. Solid bars contain abrasive particles, most commonly chromium oxide (green) or aluminum oxide (white), held together with tallow or wax binders. Liquid pastes use mineral oils or water carriers to distribute sub-micron diamond or ceramic particles evenly across the hide.
To charge your strop with a solid wax bar, follow these directions:
- Clean the leather surface: Wipe the leather with a dry cloth to clear away wood chips, dust, and dried grit that could scratch your polished edge.
- Warm the wax slightly: If your workshop is cold, warm the solid block in your hand for a minute or use a nearby lamp. Cold wax flakes off in chunks, whereas warmed wax crayons onto the leather evenly.
- Scribble lightly across the surface: Rub the wax bar across the leather using the same light pressure you would use when coloring with a crayon on paper. You do not need solid coverage; aim for a light, semi-transparent grid pattern.
- Spread the wax with mineral oil: Place two drops of plain mineral oil onto the leather. Using your thumb or a piece of scrap wood, rub the wax and oil together in circular motions until a thin, uniform haze covers the leather.
Once charged, a strop can be used for dozens of carving sessions before you need to reapply compound. If the leather begins to look dark grey or black, that is normal. The black tint is not dirt; it is swarf, which consists of tiny particles of steel removed from your knives. You only need to recharge the leather when the surface feels dry, slick, and stops pulling metal from the blade.
The correct angle and dragging stroke
Stropping uses a trailing stroke, meaning the cutting edge faces away from the direction of travel. If you push the cutting edge forward against a strop the way you do on a sharpening stone, the blade will dig directly into the leather, cutting the hide and ruining your stroke. Stropping always involves pulling the blade spine-first.
Finding the correct angle is the most critical mechanical skill in knife care. If your angle is too low, the leather only polishes the cheek of the blade, never touching the actual cutting apex. If your angle is too steep, the cutting edge plows into the leather, rounding off the fine apex within two or three strokes. How do you find the exact angle? Lay the knife flat against the leather paddle. Slowly lift the spine of the knife until the primary bevel rests flat against the leather surface. You can feel this transition: the blade stops rocking and sits stable against the flat hide. That is your stropping angle.
Execute the stroke using controlled, repeatable motions:
- Anchor the paddle: Hold the paddle firmly against a workbench or grip the handle with your non-dominant hand while keeping the paddle flat on a stable surface.
- Set the bevel: Place the heel of the knife near the top of the strop, finding the flat bevel with light downward pressure.
- Draw straight back: Pull the knife toward you along the length of the strop in a smooth, sweeping motion. If your blade has a curved belly, lift your wrist slightly as you pull so the entire length of the edge maintains contact with the leather from heel to tip.
- Release without rolling: At the end of the stroke, lift the entire knife cleanly off the leather before turning it. Never roll the knife over its edge to turn around, as rolling drags the delicate apex across the leather at an extreme angle.
- Switch sides and repeat: Place the opposite side of the blade at the far end of the strop and draw it back toward you with identical pressure.
Keep your pressure light. The weight of the knife blade combined with gentle guidance from your fingers provides sufficient force. If you see the leather compressing noticeably beneath the blade, you are pressing too hard. Let the abrasive particles do the cutting work rather than muscle force.
How often to strop during a carving session
Woodcarvers often ask for a fixed schedule: should you strop every fifteen minutes, every hour, or only at the end of the day? The honest answer depends on the wood you are carving and the type of steel in your knife. Hardwoods like oak, walnut, and hard maple dull an edge far faster than soft, even-grained northern basswood. Furthermore, some woods contain natural silica minerals that act like tiny stones, abrading your edge with every pass.
Instead of watching a clock, watch the wood chips coming off your blade. When a carving knife is razor sharp, it produces shiny, translucent shavings, and the freshly cut wood surface looks glassy and polished. When the edge begins to deflect or dull, the wood surface takes on a cloudy, dull appearance, and end-grain cuts will show tiny white lines or fuzzy tears. You will also feel yourself pushing harder from your shoulder or wrist to complete a cut.
As a practical baseline, strop your knife every twenty to thirty minutes during active roughing out, and every ten to fifteen minutes when executing delicate facial features or lettering cuts. Ten light strokes on each side of the blade are usually enough to realign the steel. Regular, brief stropping prevents the blade from dulling to the point where you must stop carving entirely and spend twenty minutes reworking the edge on coarse sharpening stones.
Common mistakes when stropping carving knives
A few subtle mechanical errors account for nearly all frustration when maintaining a carving knife on leather:
- Lifting the spine too high: Raising the back of the knife increases the angle beyond the original bevel, which rounds off the cutting edge. Keep the bevel flat against the leather throughout the entire stroke.
- Rolling the wrist at the finish: Many carvers unconsciously flick their wrist upward as the knife reaches the end of the paddle. This flick drives the apex into the leather at an aggressive angle, immediately dulling the tip. Keep your wrist locked straight.
- Applying heavy downward pressure: Pressing down hard forces the leather to wrap up around the cutting edge, which blunts the very tip you are trying to refine. Use only enough pressure to keep the steel in steady contact with the hide.
- Contaminating the leather: Leaving a strop uncovered on a workbench allows sawdust, dried glue, and coarse grit from bench grinders to settle onto the surface. Coarse contaminants leave deep scratches in your polished bevel, undoing your sharpening efforts.
Practical next steps for your bench
If you do not currently have a strop, you can make an effective one using materials already in your shop. Glue a strip of firm vegetable-tanned leather to a flat piece of scrap hardwood, such as maple or birch, using wood glue or contact cement. Trim the leather flush with the edges of the wood once the adhesive dries completely. If you do not have leather immediately on hand, you can even charge a flat strip of heavy corrugated cardboard or smooth basswood with green compound to serve as a temporary maintenance tool.
Begin your next carving session by stropping your primary detail knife for ten trailing strokes per side. Make a slicing cut across the end-grain of a piece of scrap wood before and after stropping. Observe the difference in surface sheen and hand resistance. With a clean leather paddle, a thin film of quality compound, and disciplined hand angles, your knives will slice through dense wood cleanly and safely for every project you undertake.