
When you hold a block of seasoned basswood or green birch in your hands, the first tool you reach for sets the pace of the work. Woodcarvers often find themselves torn between two foundational cutting tools: the Scandinavian sloyd knife and the narrow detail knife. While both can sever wood fibers cleanly, they interact with the grain in fundamentally different ways. Selecting the wrong blade for a particular cut wastes physical effort, leaves rough facet marks, and can even snap a fragile cutting edge under tension.
Understanding which knife suits your project comes down to mechanics rather than personal preference. How does the blade enter the wood? How much clearance does the spine have when the path curves? By looking closely at edge angles, blade thickness, and steel behavior, you can make deliberate choices at the workbench. A good knife cut does not rely on brute force. It relies on placing the correct wedge into the wood grain at an angle that allows the steel to do the splitting and severing work for you.
Why blade geometry determines cutting behavior
Why does one knife glide through a curl of green wood while another binds and stalls halfway through the cut? The answer lies in blade geometry, which is the shape and cross-section of the steel from the dull spine down to the sharp edge. When an edge enters wood, it acts as a wedge. It must pry the wood fibers apart while the sharp apex slices the cross-grain connections. If the wedge is too wide too quickly, the wood fights back, creating friction along the sides of the blade. If the wedge is too thin, it may lack the backbone needed to pry chips clear without flexing.
Most cutting tools use one of two primary grind types on the primary cutting surface: a flat Scandinavian grind or a full flat grind with a secondary bevel. A Scandinavian grind (often shortened to "Scandi") features a single wide bevel on each side that slopes directly to the cutting apex with no secondary micro-bevel. Think of it like a miniature wood chisel. Because the bevel faces are wide and flat, they provide an immediate reference surface. You can rest that flat bevel directly against the wood, tilt the knife until the blade bites, and follow a predictable, straight line. The bevel acts like the sole of a hand plane, preventing the edge from diving too deeply into the material.
In contrast, detail knives often feature a full flat grind or a very slight convex grind that tapers gradually from the top of the spine down to a micro-bevel. This leaves the sides of the blade slender and open. When you carve a tight concave hollow, such as the inside of a spoon bowl or the recessed eye socket of a small figure, a wide flat bevel would ride on the crest of the curve and prevent the tip from reaching the bottom. The leaner geometry of a detail blade lets you pivot the tool mid-cut without dragging the back of the blade against the finished wood.
| Feature | Scandinavian Sloyd Knife | Precision Detail Knife |
|---|---|---|
| Primary Grind | Zero-degree Scandi bevel (flat to edge) | Full flat grind or slight convex with micro-bevel |
| Included Edge Angle | 24 to 28 degrees | 16 to 22 degrees |
| Spine Thickness | 2.5 mm to 3.2 mm | 0.8 mm to 1.5 mm |
| Blade Profile | Curved belly with moderate taper | Straight or gentle sweep, narrow profile |
| Primary Function | Roughing, waste removal, long straight facets | Stop cuts, cleaning intersections, intricate curves |
Anatomy of the traditional Scandinavian sloyd knife
The word slöjd originates from an educational craft tradition in Sweden that emphasizes manual dexterity, practical tool use, and self-reliance through making wooden objects. A traditional sloyd knife (such as the classic Mora 106 or Mora 120 pattern) is not a delicate instrument designed solely for light surface markings. It is a stocky, general-purpose shaping tool engineered to withstand substantial hand pressure while delivering clean, planed surfaces on green or dried hardwoods.
The hallmark of the sloyd knife is its thick spine, which typically ranges from 2.5 mm to 3.2 mm. This thick steel gives the tool extreme stiffness. When you perform a heavy push cut or a chest-lever grip to strip off large wood chips, the blade will not twist or chatter. The blade length usually sits between 60 mm and 85 mm. The cutting edge contains a long, flat section near the handle for powerful push cuts, transitioning into a sweeping curve (the belly) that ends at a sharp, centered point. This pointed tip allows you to bore pilot holes, score stop cuts, and hollow shallow depressions without switching tools.
Handles on sloyd knives are shaped with equal intention. Unlike standard kitchen cutlery or modern pocket knives with thin scale handles, a sloyd handle is thick, rounded, and barrel-shaped, typically turned from birch or beech. It fills the palm completely. This volume distributes cutting pressure over the entire surface of your hand rather than concentrating it on your knuckles, which prevents hand fatigue during three-hour carving sessions. Because the handle has no sharp corners or deep finger grooves, you can rotate the knife comfortably between forehand, chest-lever, and pull grips without pinching your fingers.
Where thin detail knives shine in small carvings
While a sloyd knife excels at removing bulk wood and cutting sweeping exterior shapes, it struggles when the carving space closes in. Imagine trying to slice a thin, clean line inside a 10 mm box using the broad side of an axe. The heel of the blade gets in the way before the point can reach the work. This is the realm where thin detail knives become indispensable. Carvers working on caricatures, relief panels, letter-cutting, and detailed architectural trim rely on blades that offer high clearance and minimal drag.
Detail knives carry blades that are remarkably short and narrow, often measuring between 20 mm and 40 mm in cutting length. The blade height (the distance from the cutting edge to the spine) is kept very short, sometimes no more than 6 mm to 8 mm. Because there is so little metal behind the cutting edge, the tool can turn inside narrow radii without binding against the walls of the cut. When making an undercut beneath a leaf in a relief carving, the detail blade slips under the grain smoothly where a thick sloyd blade would wedge against the wood and pry the delicate piece off the backing board entirely.
Detail knives also excel at making vertical stop cuts. A stop cut is a straight vertical incision made into the wood grain to establish a definite boundary for subsequent slicing cuts. When you cut across the grain toward a stop cut, the severed wood chip pops out cleanly against the wall of the incision. Because a detail knife has a thin cross-section, you can press it straight down into seasoned basswood or tupelo with light finger pressure, severing the fibers cleanly without compressing or crushing the cell walls underneath.
Blade thickness and structural resistance
Why cannot a carver simply use a super-thin detail knife for every operation? The limitation comes down to the physics of structural resistance. When steel meets wood, the blade encounters lateral (side-to-side) force as well as downward resistance. Wood grain is not uniform like plastic or clay; it is a bundle of rigid, hollow straws held together by natural resins. As a blade travels forward, changes in grain direction exert twisting forces against the flat sides of the steel.
A thin blade (under 1.5 mm thick) lacks the cross-sectional mass to resist moderate lateral bending. If you bury a long, thin detail knife deeply into an oak branch and twist your wrist to pop off a stubborn chip, the steel will deflect. Under high loads, that deflection leads to permanent bending or sudden mechanical failure, causing the tip to snap off inside the timber. Thick sloyd blades absorb those twisting loads safely, converting the power from your arm and shoulder directly into splitting force that shears the grain cleanly along the natural growth rings.
Conversely, excessive thickness creates its own problem: wedging resistance. When a 3.2 mm sloyd blade enters dry, dense wood like cherry or hard maple on a deep cut, the expanding shoulders of the bevel act like a wedge splitting a log for firewood. If the cut is not shallow enough for the chip to curl away, the timber clamps down on the sides of the blade, stopping forward movement. Carving thin, flexible ribbons of wood requires matching your depth of cut to the thickness of the blade stock.
- Thin blades (0.8 mm to 1.5 mm): Provide low wedging resistance, clean vertical slicing, and tight turning clearance, but possess low lateral strength and fail easily under twisting loads.
- Thick blades (2.5 mm to 3.2 mm): Offer high rigidity, strong chip ejection, and superior support for heavy roughing cuts, but exhibit high wedging resistance on deep cuts in dried timber.
Building a two-knife starter kit
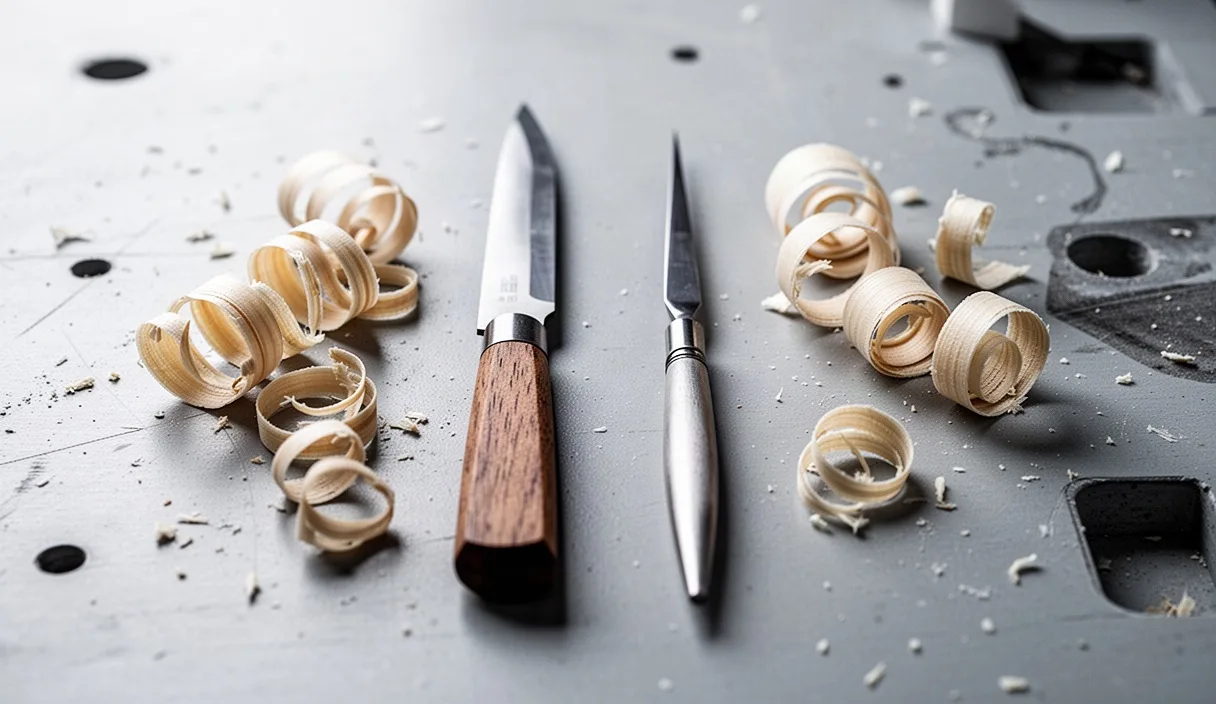
Rather than purchasing an expensive twenty-piece carving set filled with specialized gouges and profile shapes you may never touch, most woodcarvers are best served by assembling a focused two-knife kit. By pairing one general-purpose sloyd knife with one dedicated detail blade, you cover nearly all functional needs for carving spoons, figures, everyday kitchen utensils, and small decorative panels.
The backbone of your kit should be an 80 mm sloyd knife with a Scandi grind, tempered to an approximate hardness of 59 to 61 HRC (Rockwell Hardness Scale). High-carbon tool steels like 1095, O1, or Swedish laminated carbon steel work exceptionally well here. These steels take a keen edge quickly on traditional oilstones or waterstones and hold up well to heavy leverage cuts. This knife will handle roughing out blanks, removing bark, shaping axed spoon billets, and establishing the primary exterior planes of your work.
The companion tool should be a 30 mm to 35 mm straight-edge or gentle-sweep detail knife, ground thin from high-carbon steel tempered slightly harder, around 61 to 63 HRC. A knife with a modified pen-blade or wharncliffe profile (where the spine curves down to meet a flat edge) is ideal for beginners because the straight edge makes sharpening simple. This knife stays reserved exclusively for delicate work: cutting pupils, detailing hands and clothing, cleaning out tight inside corners, and scoring crisp boundaries.
- Selecting your sloyd blade: Look for an 80 mm carbon steel blade with an oval wooden handle that extends at least 110 mm into your grip so the butt does not dig into your palm.
- Selecting your detail blade: Choose a 32 mm straight-edge blade set into a pencil-style or tapered handle that allows your index finger to rest near the spine for maximum control.
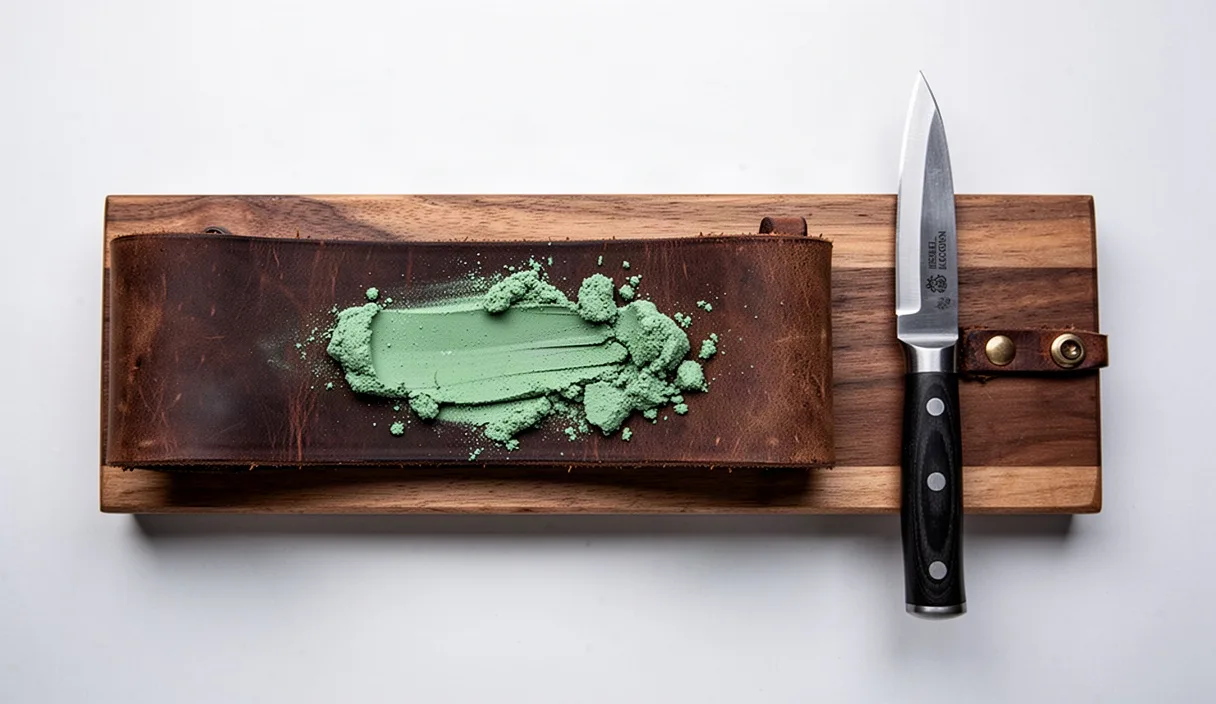
- Preparing a portable strop: Glue a piece of flat vegetable-tanned leather to a 50 mm wide wooden board, apply a uniform coat of aluminum oxide or chromium oxide compound, and keep it beside you while carving.
- Establishing work habits: Use the sloyd knife for all bulk wood removal until the project profile is within 2 mm of final dimensions, then switch to the detail knife for facial features, lettering, and fine cleanup.
Common mistakes
The most frequent error new carvers make is using a detail knife for rough waste removal. Because the small blade feels nimble and less intimidating than a stout sloyd knife, beginners often try to carve entire spoons or animals using only a 30 mm blade. This practice forces the user to take hundreds of tiny, straining cuts instead of a few efficient, powerful strokes, resulting in choppy surfaces and broken blade tips.
Another widespread mistake is altering the edge geometry during freehand sharpening. A sloyd knife requires you to keep the wide factory bevel completely flat against the sharpening stone throughout the entire stroke. If you roll your wrist upward to create a secondary bevel, you destroy the flat guide surface that makes the Scandi grind track smoothly through wood. Conversely, running a detail knife too flat on the stone can thin the delicate cutting edge excessively, causing the micro-bevel to fold or crumble the first time it strikes a knot in dried timber.
Finally, avoid prying with the point of either knife. When an edge meets resistance near the end of a cut, the temptation is to rock or flick the blade upward to pop the chip loose. Wood fibers possess high tensile strength. Snapping that chip with the point of your blade places severe bending stress on the steel at its thinnest cross-section. If the chip does not release freely, stop, pull the blade out, and make a clean intersecting cut from the opposite direction.
Practical next steps
To put this knowledge to work at your bench, begin by evaluating the tools you currently own. Take a scrap piece of dry basswood or clear pine and make five deep push cuts using a wide-beveled knife, noting how the flat grind guides the cut. Next, take a short, thin utility blade or detail tool and try to make the same cut; you will immediately feel the difference in blade deflection and hand fatigue. Reverse the experiment by attempting to cut a tight 5 mm circle in the surface with both tools, noticing how the broad spine of the sloyd knife tracks away from the line while the detail blade turns freely.
Set a regular maintenance routine using a simple leather strop charged with fine polishing compound. Strop your sloyd knife every thirty minutes of active carving by pulling the wide bevel backward across the leather at its native 26-degree angle, five times on each side. Do the same for your detail knife using very light downward pressure to avoid rounding its fragile micro-bevel. Keeping both edge geometries true to their mechanical purpose will ensure clean cuts, protect your hands, and allow each knife to perform precisely as designed.